
Your Guide to MikroTik RADIUS Billing System Setup
Master the MikroTik RADIUS billing system setup for your ISP. This guide covers RouterOS, PPPoE, Hotspots, and full Centipid Billing integration.

Integrating your MikroTik router with a RADIUS-based billing system is the single most important step you can take to turn your ISP from a manual hustle into a scalable, automated business. Using a platform like Centipid, you can centralise control over everything from PPPoE accounts to hotspot vouchers, eliminating the need for constant, hands-on management.
Building Your ISP's Automated Billing Foundation
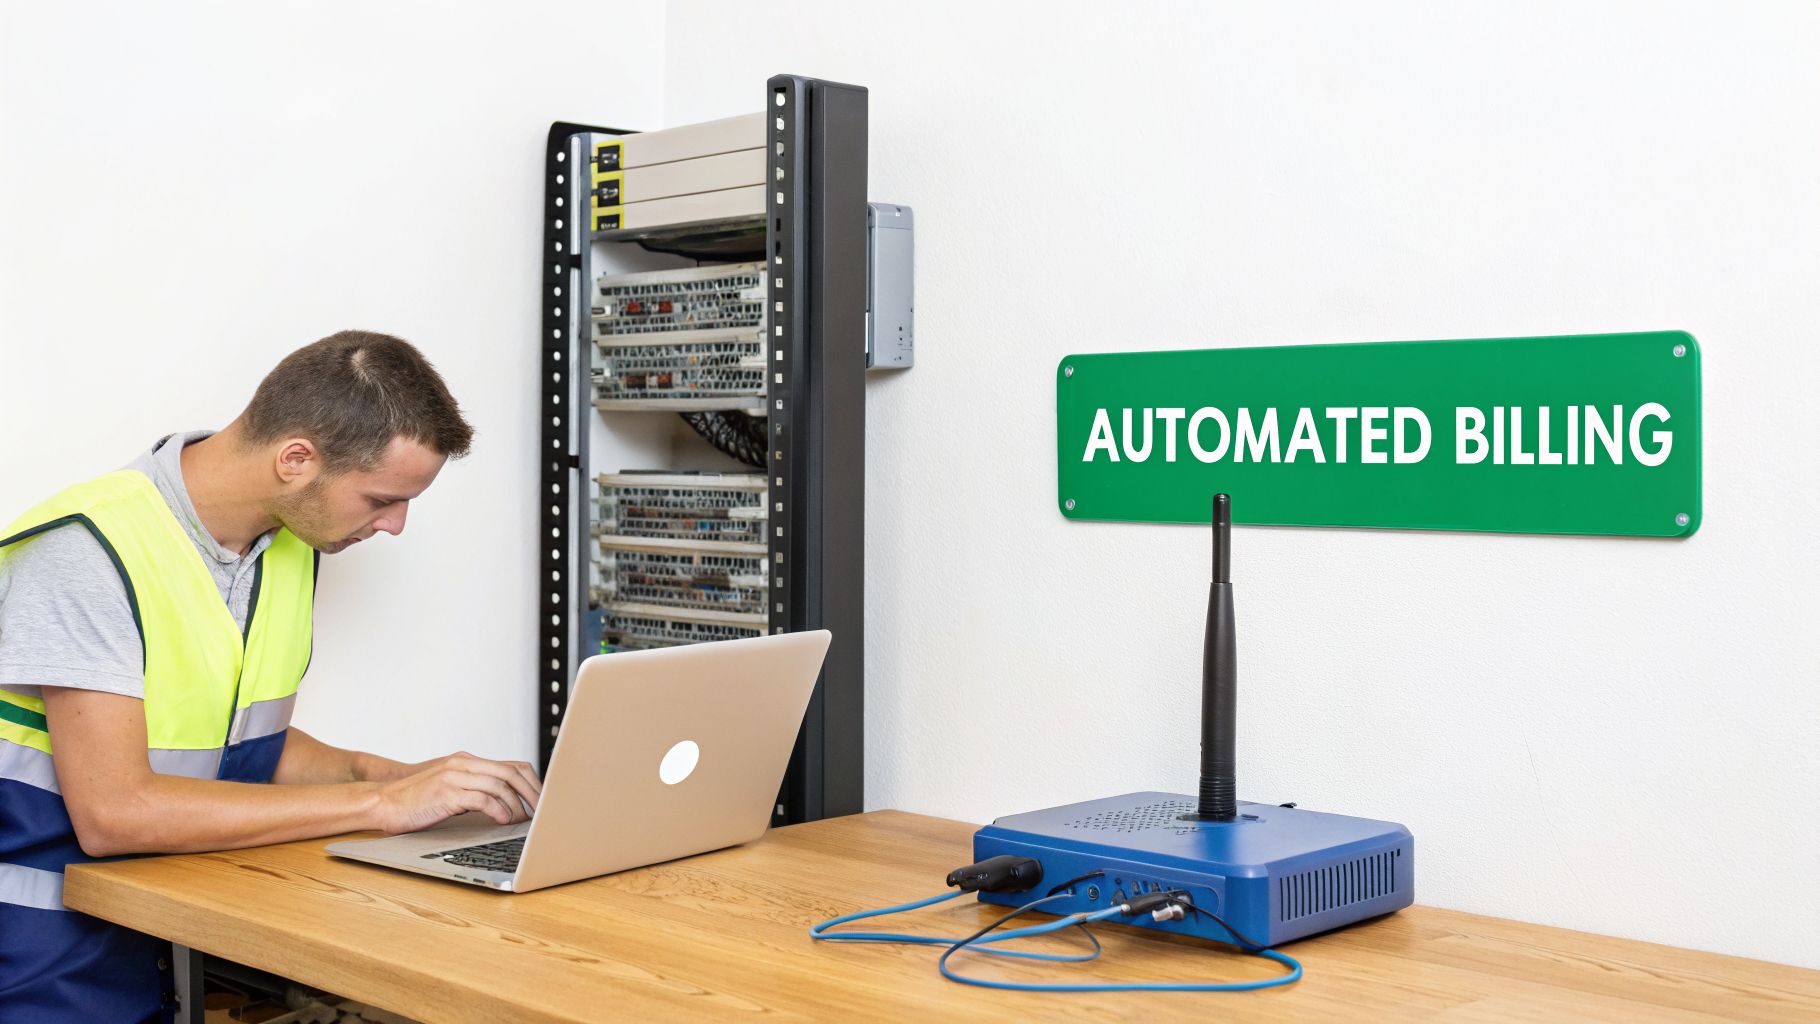
If you're running an ISP, you know the daily grind all too well. It’s a constant cycle of manually creating user accounts, chasing down payments, and troubleshooting why a customer can't connect. A MikroTik RADIUS billing system setup is your ticket out of that loop, creating a smart system where your MikroTik router, a RADIUS server, and payment gateways all work together seamlessly.
This isn't just a matter of convenience; it’s about building a solid foundation for growth. Think of your MikroTik router as the gatekeeper to your network. The RADIUS server is the brain behind it. When a customer tries to log on, the router doesn't make the decision—it asks the RADIUS server for instructions. The server instantly checks the account, applies the correct speed limit, and tells the router whether to grant or deny access. This all happens in milliseconds.
You can get a better feel for how these components fit together by reading our guide on selecting the right https://centipidbilling.com/blog/isp-billing-software.
The Power of a Unified System
The real breakthrough comes from managing everything from a single point of control. Instead of jumping between different routers or manually editing user lists, you can run your entire operation from a central dashboard, like the one Centipid provides.
This unified approach brings some serious advantages:
Automated Revenue Collection: The system sends recurring invoices and can automatically suspend non-paying accounts. This alone drastically improves your cash flow.
Fewer Manual Errors: Automation removes the risk of human error from manual data entry, which means fewer customer complaints and less lost revenue.
Scalable Operations: You can add hundreds of new subscribers, services, or locations without needing to hire more administrative staff.
A Better Customer Experience: Clients get their own self-service portal to manage their accounts, check their usage, and pay their bills using familiar options like M-Pesa.
By centralising control, you're not just managing a network; you're running an efficient business. This moves you from putting out fires all day to proactively managing your operations, giving you time to focus on growth.
To give you a clearer picture, let's compare the old, manual way of doing things with an automated system.
Manual Billing vs MikroTik RADIUS Automation
Feature | Manual System (Old Way) | Automated RADIUS System (Centipid) | Business Impact |
|---|---|---|---|
Account Creation | Manually entered into the router | Created once in the billing system; pushed to all routers | Frees up hours of technical time and reduces setup errors. |
Payment & Suspension | Manually track payments, manually disable late accounts | Automatically invoices and suspends/renews accounts based on payment status | Guarantees cash flow and cuts out awkward follow-up calls. |
Customer Support | Staff must handle all queries (balance, expiry, payments) | Self-service portal for customers to check status and pay | Lowers support overhead and empowers your customers. |
Reporting | Tedious and often inaccurate data compilation | Real-time dashboards on revenue, active users, and network health | Provides clear, actionable insights for business decisions. |
The table makes it obvious: automation isn't just a nice-to-have, it’s a competitive necessity that directly impacts your bottom line. All the features mentioned for the automated system can be explored at https://docs.centipidbilling.com.
Local Impact and Proven Results
This isn’t just theoretical. In Kenya's fast-paced ISP market, MikroTik RADIUS billing systems are now the standard for managing both PPPoE and hotspot networks. A report from the Communications Authority of Kenya (CA) found that by 2023, over 65% of Nairobi-based WISPs had already adopted these automated systems.
The numbers speak for themselves. A 2022 survey showed that ISPs using a proper RADIUS solution cut their manual billing errors by 42% and could support up to 5,000 active PPPoE sessions daily without extra staff. We’ve also seen operators achieve up to 30% faster customer onboarding—a huge win in a crowded market.
The shift to automation is happening across all industries. You can see more business process automation examples to understand its broader impact. For your ISP, adopting this model is the first real step in evolving from a hands-on project into a professional, scalable, and truly profitable enterprise.
Preparing Your Network for RADIUS Integration
Before you touch a single line of configuration, let's talk about the groundwork. A successful MikroTik radius billing system setup is built on a solid network foundation, not just clever commands. Getting these fundamentals right from the start will save you a world of headaches down the line.
Think of your MikroTik router as the engine of your ISP. If you're planning to grow, an entry-level router just won't cut it when it's handling hundreds of user sessions. I’ve seen this happen time and again—it quickly becomes a bottleneck.
For any serious WISP, you should be starting with something like a MikroTik RB4011 or, for larger-scale operations, a device from the Cloud Core Router (CCR) series. These have the horsepower to manage the constant flow of RADIUS requests and high user throughput. Just as crucial is making sure you’re running RouterOS v7 or newer; it’s essential for modern, secure RADIUS communication.
Nailing Down the Connection
Your router's link to the cloud RADIUS server (like Centipid) is the lifeline for all authentication, authorisation, and accounting. If this connection flaps, so does your entire service. Users won't be able to log in, and you'll be flooded with support calls.
From my experience, the number one culprit behind a failed RADIUS deployment isn't a complex setting. It's an unstable internet link between the MikroTik router and the billing server. Prioritise a stable uplink above everything else.
A good grasp of how a network switch works is also key to designing a scalable network that reliably feeds traffic to your core router. You can get a great overview by reading this resource on how a network switch works.
While you're at it, do yourself a favour and get a static public IP address for your router. Sure, dynamic DNS can work in a pinch, but a static IP gives the RADIUS server a fixed, dependable target to talk to. It removes an entire layer of potential problems.
Getting Your Data and Accounts in Order
With the hardware and connectivity sorted, it's time to organise your business data. If you’re moving from another system, a bit of prep work here will make the transition incredibly smooth.
Clean up your user lists: Export your existing PPPoE or hotspot users into a simple spreadsheet (a CSV file is perfect). Double-check for any duplicates and make sure all the contact info is up to date.
Define your service plans: Map out the packages you'll offer. What are the speeds? Are there data caps? What's the pricing? Having this clearly defined makes setting them up in the billing system a breeze.
Finally, get your billing system account set up. Most good platforms offer a trial period. I recommend signing up for the 14-day free trial on centipidbilling.com to get a feel for the dashboard. This lets you see exactly where your customer data and service plans will go before you connect anything to your router.
Ticking off these hardware, connection, and data prep tasks sets you up for a deployment that just works. For a detailed guide on router setup, refer to the documentation at https://docs.centipidbilling.com.
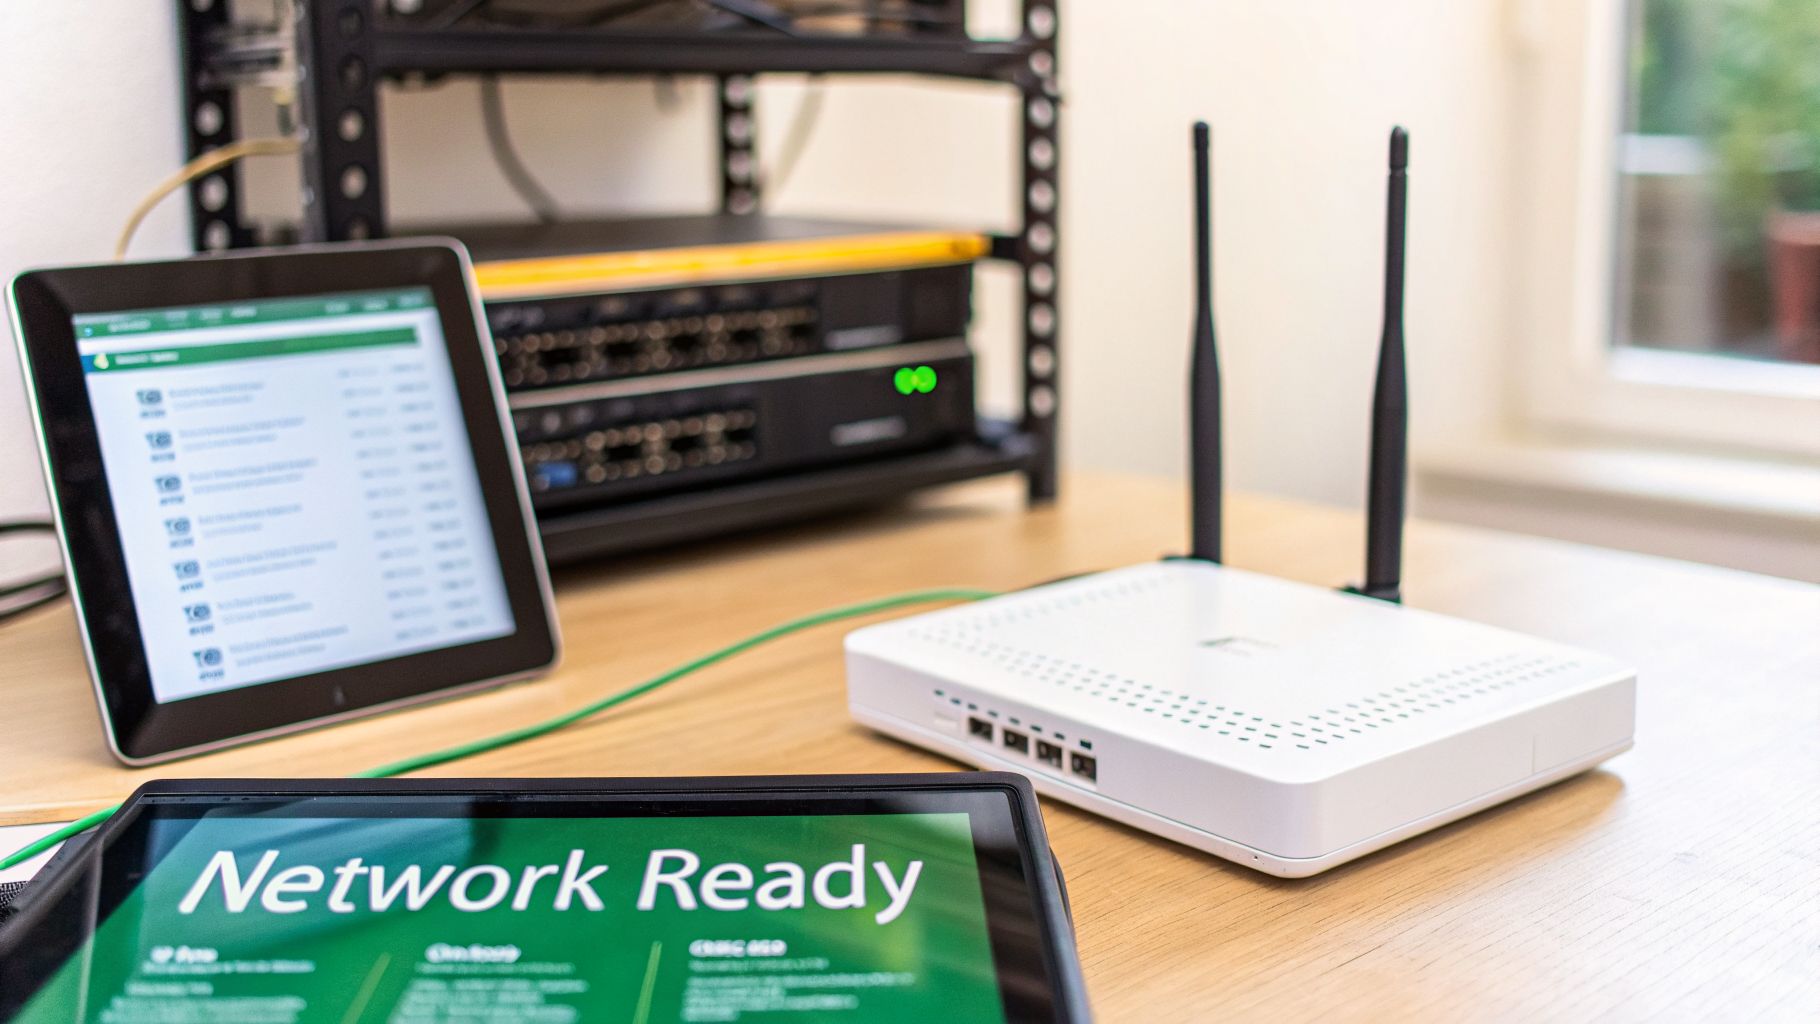
Alright, let's get our hands dirty and dive into the router itself. This is where we connect your MikroTik hardware to the Centipid RADIUS server, creating the backbone of your entire automated billing setup. Every time a customer tries to log in, this connection will handle the authentication, authorisation, and accounting (AAA) requests.
Don't worry, the commands are straightforward. I'll walk you through the exact steps for RouterOS v7, whether you're a fan of the command-line interface (CLI) or prefer the visual layout of WinBox.
Adding the RADIUS Server to Your Router
First things first, we need to introduce your MikroTik router to the Centipid server. This means telling it the server's address, the shared secret key that secures the connection, and which ports to use for authentication and accounting.
Open up a terminal on your MikroTik router and type in the following command. Just remember to swap out the placeholder details with the actual information from your Centipid dashboard.
/radius add address=YOUR_RADIUS_IP_ADDRESS secret="YOUR_SECRET_KEY" service=pppoe,hotspot authentication-port=1812 accounting-port=1813 timeout=300ms
So, what does this command actually do?
address: This is simply the IP address of your Centipid RADIUS server.secret: Think of this as a password that both your router and the server must share. It has to be an exact match on both ends for them to talk to each other.service: Here, we're specifyingpppoeandhotspot. This tells the router that only these services should use this RADIUS server for their AAA tasks.timeout: We've set this to300ms, which is a solid starting point. It’s the maximum time the router will wait for a response from the server before giving up on the request.
One thing I see trip people up all the time is a simple typo in the secret key. If you're running into connection problems, check this first. It's case-sensitive and must be identical to what's in your Centipid account.
If you want to get a better grasp of how the router and server work together, our article on the MikroTik RADIUS server integration is a great resource.
Pointing Your Services to RADIUS
Now that the router knows where the Centipid server is, you need to tell your PPPoE and Hotspot services to actually use it. This small change switches the source of truth for user authentication from the local router database to your central billing system.
For your PPPoE services, head over to the PPP menu. In the PPPoE Servers tab, open up your server profile and simply tick the Use RADIUS box you'll find under the Authentication settings.
It's a very similar process for Hotspots. Go to IP > Hotspot, find the Server Profiles tab, open your active profile, and click on the RADIUS tab. Once there, just check the Use RADIUS option.
This is where you'll find all the details you need. The Centipid dashboard centralises your RADIUS server information, giving you a single, reliable source for connecting your network devices.
Fine-Tuning Accounting and Session Tracking
A critical, and often overlooked, part of any MikroTik radius billing system setup is making sure data usage is tracked accurately. This is handled by a setting called interim-update, which tells the router how often it should send usage updates (like data consumed) to the RADIUS server for currently online users.
You'll find this setting within your Hotspot and PPPoE server profiles. A good rule of thumb is 00:05:00 (five minutes). This strikes a nice balance between having near real-time data in your billing system and not flooding your network with constant update traffic. Without this, Centipid would only know how much data a customer used after they've logged out.
The real-world impact here is huge. A well-configured system using /radius add service=hotspot with accounting-port=1813 and a timeout=300ms lets an ISP synchronise policies from a single dashboard across dozens of sites. Before this kind of automation, manual billing often led to revenue leakage as high as 28%. After implementing RADIUS with MAC binding, we’ve seen that leakage drop to just 4%.
In Kenya, for example, one of our ISP clients leveraging this automation processes over 2.5 million KES weekly through M-Pesa alone, all handled by Centipid. You can find more practical insights from operators on this MikroTik forum discussion.
With these configurations in place, you've built the technical bridge between your MikroTik router and the Centipid platform, laying the foundation for a truly automated ISP business.
Automating Service Plans in the Centipid Dashboard
Now for the fun part. Once your MikroTik router and RADIUS server are talking to each other, you can finally step away from the command line. This is where a centralised dashboard like Centipid’s truly shines, letting you manage your entire ISP from a single, intuitive interface. You're no longer just configuring a network; you're automating your business.
We're about to translate abstract ideas like "bandwidth" and "pricing" into concrete, automated rules that your MikroTik router will enforce without you lifting a finger.
Designing Your Internet Packages
First things first, you need to decide what you're actually selling. Inside the Centipid dashboard, defining your internet packages is straightforward. You can build out everything from a simple home internet plan to a high-priority business package, all tailored to different customer needs.
For every plan you create, you’ll set the specific rules that Centipid enforces through your router. This includes:
Bandwidth Speeds: Pinpoint the exact upload and download speeds for each package—say, a 10Mbps download and 5Mbps upload limit. Centipid pushes this to the router using RADIUS attributes, so you don't have to.
Pricing: Set the cost and billing cycle, whether it's daily, weekly, or monthly.
Fair Usage Policies (FUPs): This is where you can get clever. For example, you could offer a blazing-fast connection for the first 50GB of data and then automatically throttle the user to a slower, more basic speed once they hit their limit.
This level of control means your network resources are used fairly, and your pricing is directly linked to the service you deliver. To get more ideas on building effective plans, have a look at our guide on selling internet vouchers.
Provisioning Subscribers in Seconds
With your service plans locked in, onboarding new customers becomes almost instant. It doesn't matter if you're setting up a residential PPPoE client or printing a batch of hotspot accounts—the heavy lifting is done for you.
For a new PPPoE subscriber, you just create their account in the Centipid dashboard and assign them a plan. That's it. The next time they connect, your MikroTik queries Centipid, receives the new credentials and speed limits, and lets them on. No more manually logging into the router to create a local secret for every new customer.
It's just as slick for hotspot vouchers. You can generate hundreds or even thousands of unique voucher codes with just a few clicks. Tie each batch to a specific plan, duration, and price—perfect for managing Wi-Fi at cafes, hotels, or large events.
This simple, synchronised flow between your router, the sync process, and the central billing server is what makes it all work.
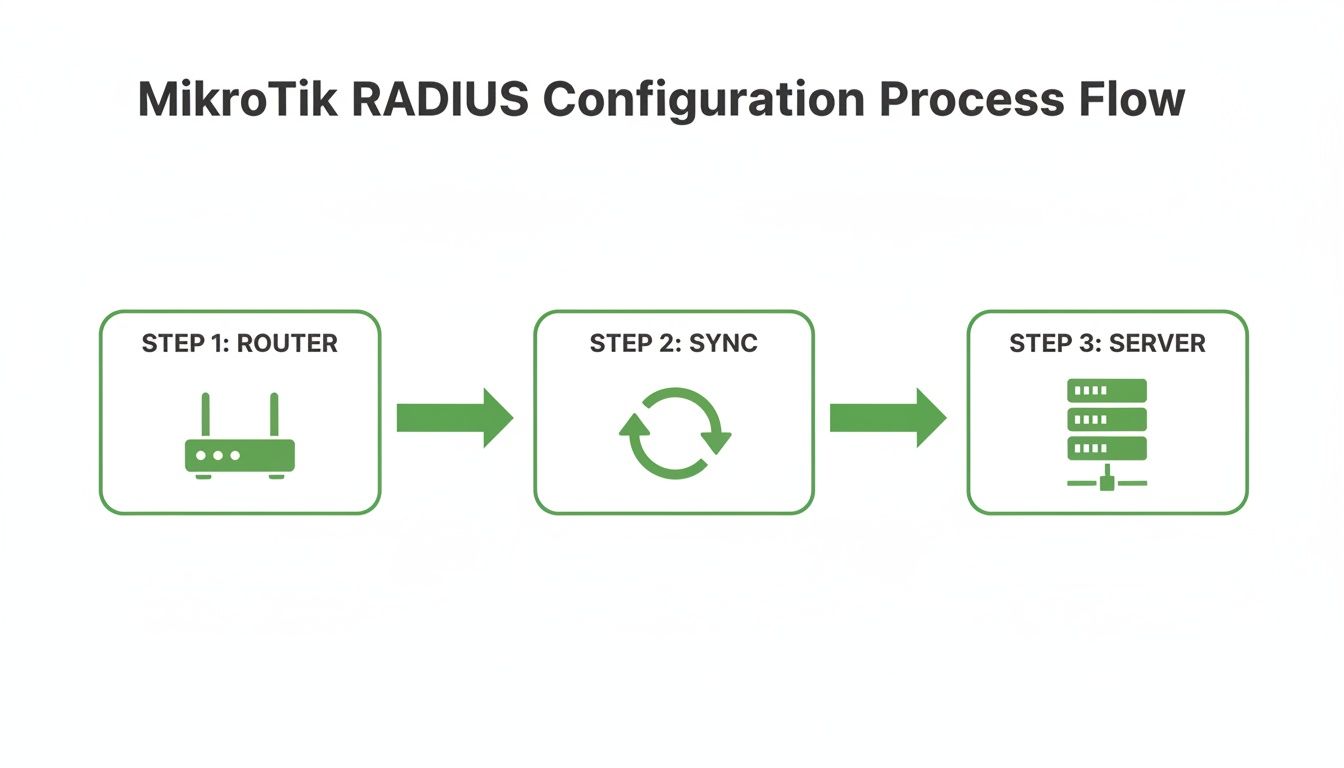
As you can see, the billing system becomes the single source of truth, telling your router what rules to enforce on the network automatically.
Empowering Customers with a Self-Service Portal
One of the most powerful features you can roll out is a branded self-service portal. This is a complete game-changer for cutting down your support workload and improving your cash flow. The portal, powered by the Centipid platform, gives your customers control over their own accounts.
From my experience helping numerous ISPs set this up, a good self-service portal can slash support tickets related to billing and account status by over 40%. It frees up your technical team to focus on growing the network instead of answering routine phone calls.
Through their personal dashboard, your customers can:
See their current data usage and session history in real-time.
Pay their bills instantly with integrated mobile money gateways like M-Pesa.
Upgrade or downgrade their service plan whenever they want.
Check their payment history and download invoices.
This not only gives your customers a better experience but also means you get paid on time, without having to chase down payments manually. You can explore all these features on https://docs.centipidbilling.com.
Testing Your Setup and Troubleshooting Like a Pro
You’ve done the heavy lifting to connect your MikroTik router with the Centipid billing system. Now comes the most critical part: making sure it actually works as expected. Skipping a thorough test run is a surefire way to get flooded with customer complaints and spend your nights chasing down preventable problems.
Think of this as your pre-flight check. We're going to run a few real-world simulations and get comfortable looking at the logs. This proactive approach helps you spot and fix the small hiccups before they ever affect a paying customer, proving the reliability of your network from day one.
Validating with Real-World Tests
The only way to know for sure if your setup works is to use it exactly how a customer would. We'll focus on the two main ways people will connect to your service: through a PPPoE connection for home or business internet, and via your hotspot for casual users.
Trying a PPPoE Connection
First, let's test your fixed internet setup. Head into your Centipid dashboard and create a test PPPoE account. Be sure to assign it to a specific package, like a 5Mbps plan.
Now, grab a device on your network and try to establish a PPPoE connection using those new credentials. Does it connect? Perfect. The next step is to run a speed test. The results you see should hover right around that 5Mbps limit you set in the plan.
Redeeming a Hotspot Voucher
Next up is the hotspot. Generate a new voucher code in Centipid.
With a phone or laptop, connect to your hotspot’s Wi-Fi network. You should be immediately redirected to the captive portal login page you designed. Punch in the voucher code. You should be granted internet access almost instantly. Just like with the PPPoE test, run a quick speed test to confirm the bandwidth limits for that voucher plan are being enforced correctly.
If both of these tests go off without a hitch, you're in great shape. Your core authentication, billing integration, and speed limiting are all working together. If not, it's time to dig into the logs.
Your Best Friend: The RADIUS Log
When a test fails, don't panic. The logs are your roadmap to the solution. Both your MikroTik router and the Centipid platform keep a detailed story of every connection attempt, giving you the clues you need.
On your MikroTik, you can see this chatter live. Just open the Log window and add a filter for the radius topic. You'll see access-request packets heading to your billing server and, hopefully, an access-accept packet coming back. If you see access-reject, the log will tell you why.
From my own experience, the most common error you’ll run into is
RADIUS server is not responding. Nine times out of ten, this isn't some complex routing problem. It's usually a firewall rule blocking the RADIUS ports (UDP 1812/1813) or a simple typo in the shared secret key on either the router or in the Centipid settings. Always check those two things first.
The Centipid dashboard offers an even clearer picture. It logs every single request it processes and gives plain English reasons for any rejections, like "Invalid username or password" or "User account has expired." These logs are pure gold for troubleshooting.
Solving Common Glitches
After helping set up dozens of these systems, I've seen the same few issues pop up time and again. Here’s a quick cheat sheet for the most common ones.
Users Can't Connect at All: Seeing
access-rejectin the logs points directly to an account issue. Double-check the username and password in Centipid and make sure the account is active and hasn't expired.Incorrect Speeds Are Applied: If a customer on a 10Mbps plan is complaining about 1Mbps speeds, the RADIUS attributes that define the speed limit aren't being applied correctly. Look at your service plan configuration in Centipid and verify the
Mikrotik-Rate-Limitattribute is configured properly.Data Usage Isn't Tracking: This is almost always an issue with the
interim-updatesetting. If this isn't set in your MikroTik's PPPoE or Hotspot server profiles, the router never sends periodic usage data to the billing platform. Without it, your accounting will be completely off. Setting this to five minutes strikes a great balance between real-time data and router load.
By working through these tests and getting familiar with the language of the logs, you'll not only confirm your setup is solid but also gain the confidence to diagnose and fix any future issues like a seasoned professional.
Common Questions and Sticking Points in a MikroTik RADIUS Setup
Even with the best guide in hand, a few questions always seem to pop up during a MikroTik radius billing system setup. I've been there. Let's tackle some of the most common ones I hear from network admins on the ground, so you can sidestep these issues before they even start.
Is It Okay to Use a Dynamic IP on My MikroTik Router?
The short answer? I'd strongly advise against it.
While you could technically rig something up with a dynamic DNS (DDNS) service, for any professional network, a static public IP address for your router is non-negotiable. That link between your MikroTik router and your cloud RADIUS server is the absolute heart of your operation.
Think about it: a static IP gives the RADIUS server a fixed, reliable address to talk to. The moment your router's IP changes, authentication requests start failing. New users can't log in, and from their perspective, your network is down. The vast majority of "RADIUS server not responding" errors I've troubleshooted trace back to an unstable connection, and a dynamic IP is a huge, completely avoidable, source of that instability.
What Happens if the Router’s Internet Connection Drops?
This is a great question, and it really gets to the core of why a solid uplink is so important. If your router loses its connection to the RADIUS server, it can no longer check credentials for new users. Any new PPPoE or hotspot login attempts will simply fail until that connection is back online.
But it doesn't mean your whole network just stops dead.
Existing users: Anyone who is already online with an active session will usually stay connected without any issue.
Session updates: Your router will keep trying to send accounting data (interim-updates) to the server. If it fails too many times, the user's session might eventually get dropped, but this depends on how you've configured things.
The system is built to survive brief outages, but for consistent AAA services, a stable internet connection is your foundation.
How Does Centipid Manage Fair Usage Policies and Throttling?
This is where the magic of a centralised system really shines. Fair Usage Policies (FUPs) and speed throttling are handled entirely from your Centipid billing dashboard, not on the router itself.
It all starts when you create your service plans. You'll set a high-speed data limit (say, 50GB at 20Mbps) and a much slower throttled speed (like 2Mbps) for after that limit is reached.
When a customer burns through their high-speed data, Centipid sees it happen in real-time. The platform immediately sends a special RADIUS packet called a Change of Authorisation (CoA) directly to your MikroTik router. This CoA packet is an instruction, telling the router to instantly apply the new, slower speed limit to that user's active session. It's completely automated—no late-night logins to manually throttle anyone.
Can I Move My Existing PPPoE Users Over to Centipid?
Absolutely. Migrating your current subscriber base is a standard part of the process, and you won't need to force your customers to change their passwords or deal with any service downtime.
First, you'll need to export your user list—usually just usernames and passwords—from your MikroTik's local secrets or whatever you're using now. This can almost always be saved as a simple CSV file.
Centipid has a straightforward import tool right in the dashboard. You upload that CSV file, and it will bulk-create all your user accounts, assigning them to their new service plans in one shot. You can find a detailed walkthrough in the official docs at https://docs.centipidbilling.com.
After the accounts are all set up in Centipid, the last step is to flick the switch on your MikroTik router. Just go to your PPPoE server settings and change the authentication source from local to radius. Your users can then connect with their same old credentials, but this time, the new automated system will be managing everything behind the scenes.
Ready to automate your ISP and put an end to manual network management? Centipid Technologies Ltd. gives you the tools to streamline your billing, control network access, and empower your customers.
Start your 14-day free trial today and see the difference for yourself.