To create a hotspot voucher system with MikroTik, run the Hotspot setup wizard on the interface that serves your customers, create user profiles that define time, data and speed limits, generate usernames and passwords as vouchers, and give customers a way to buy and redeem them. You can do all of this natively in RouterOS with User Manager or hotspot users. Once you sell at volume, most operators move voucher generation, payments and reporting into a billing system, so the router only enforces access.
This guide walks through both stages: the native MikroTik build, and the point where it stops being practical.
How a MikroTik voucher system works
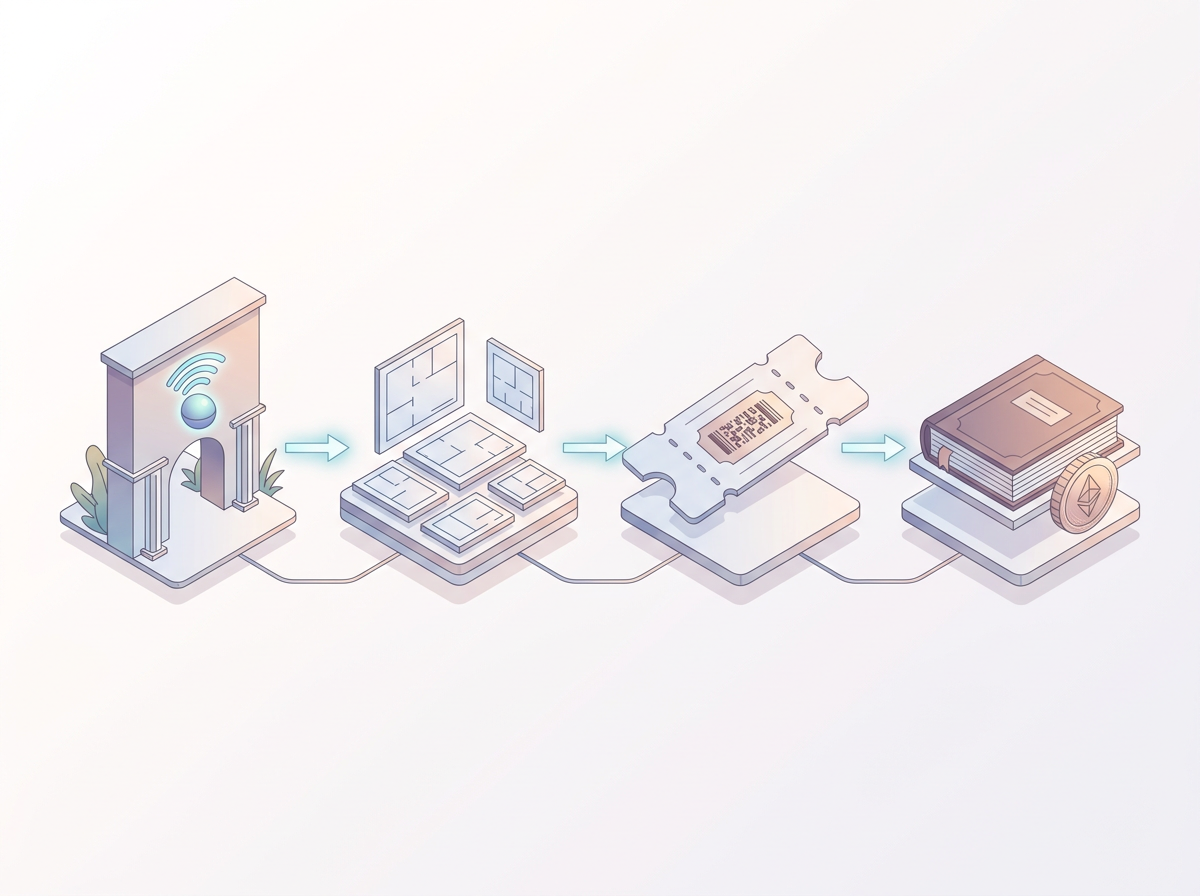
A voucher system has four parts, and it helps to keep them separate:
- Access control: the MikroTik hotspot service intercepts unauthenticated clients and redirects them to a login page.
- Plans: profiles that define what a voucher is worth, such as one hour, one day, 2 GB, or 5 Mbps.
- Vouchers: credentials (a code, or username and password) tied to a plan.
- Sales and records: how vouchers reach customers, how you get paid, and how you know what was sold.
MikroTik handles the first three well. The fourth is where most hand-built systems struggle.
Step 1: Prepare the router
Before touching the hotspot, make sure the basics work:
- Upgrade RouterOS to a current stable release.
- Confirm the router has working internet on its WAN port, with DNS and NAT (a masquerade rule) in place.
- Choose the interface for customers, usually a bridge holding your WiFi access point ports.
- Give that interface an IP address and a DHCP server, for example a /24 or larger depending on expected users.
- Change the default admin credentials and restrict management access to trusted addresses. A hotspot router is exposed to the public by nature.
If you manage routers remotely, see MikroTik Winbox for ISP router management for how operators reach their devices safely.
Step 2: Run the hotspot setup
In Winbox or WebFig, open IP > Hotspot and use the Hotspot Setup wizard. It asks, in order, for:
- the interface to run the hotspot on
- the local address of the hotspot network
- an address pool for clients
- an SSL certificate (select none unless you have a valid one)
- an SMTP server (usually left empty)
- DNS servers
- a DNS name for the hotspot
- a first admin user for the hotspot
The wizard creates the hotspot server, a server profile, an IP pool, DHCP settings and the firewall and NAT rules needed to redirect clients. Test with a phone: connecting to the WiFi should bring up a login page.
For a deeper look at how the pieces fit together, read how hotspot billing works with portals, vouchers and sessions.
Step 3: Create user profiles for your plans
Profiles are what make vouchers sellable. Under IP > Hotspot > User Profiles, create one per product. Typical settings:
- Rate limit: upload/download speed, such as 2M/5M.
- Shared users: how many devices can use one voucher at once. One is the safest for sold access.
- Session timeout: the maximum continuous session length.
- Idle timeout: disconnects inactive devices so a voucher's time is not wasted.
- Keepalive timeout: clears dead sessions.
Time and data limits are set on the user itself, using the limit uptime and limit bytes total fields. A one-hour voucher is a user with a one-hour uptime limit; a 1 GB voucher is a user with a byte limit.
Name profiles so they match your price list, for example Hourly-2M or Daily-5M. Clear names save mistakes later when you read reports.
Step 4: Generate vouchers
There are two native routes.
Hotspot users with the batch tool. In the Hotspot user list you can add users one at a time or script a batch. Each user gets a name, password, profile and limits. A common approach is to make the username and password the same short code, so customers only type one value.
User Manager. MikroTik's User Manager package offers a more structured system with customers, profiles, limitations and a voucher generator. It works with the router's RADIUS client and can print vouchers in bulk.
Whichever you choose, follow these practices:
- Use codes long enough to resist guessing. Numeric-only codes are easy to type but need more digits to stay safe.
- Avoid look-alike characters such as 0 and O, or 1 and l.
- Tag batches with a comment (date, location, seller) so you can trace problems.
- Set vouchers to expire, so unsold stock does not stay valid forever.
Step 5: Customise the login page
The default login page is plain. You can edit the HTML files in the router's hotspot directory to add your brand, price list, support number and instructions on where to buy vouchers. Keep the form fields and the hidden variables the hotspot expects, or login will break. Always keep a copy of the original files before editing.
If you want a portal that shows packages and takes payment, that is a separate capability, covered in how a captive portal with mobile money gives instant access.
Step 6: Decide how customers get vouchers
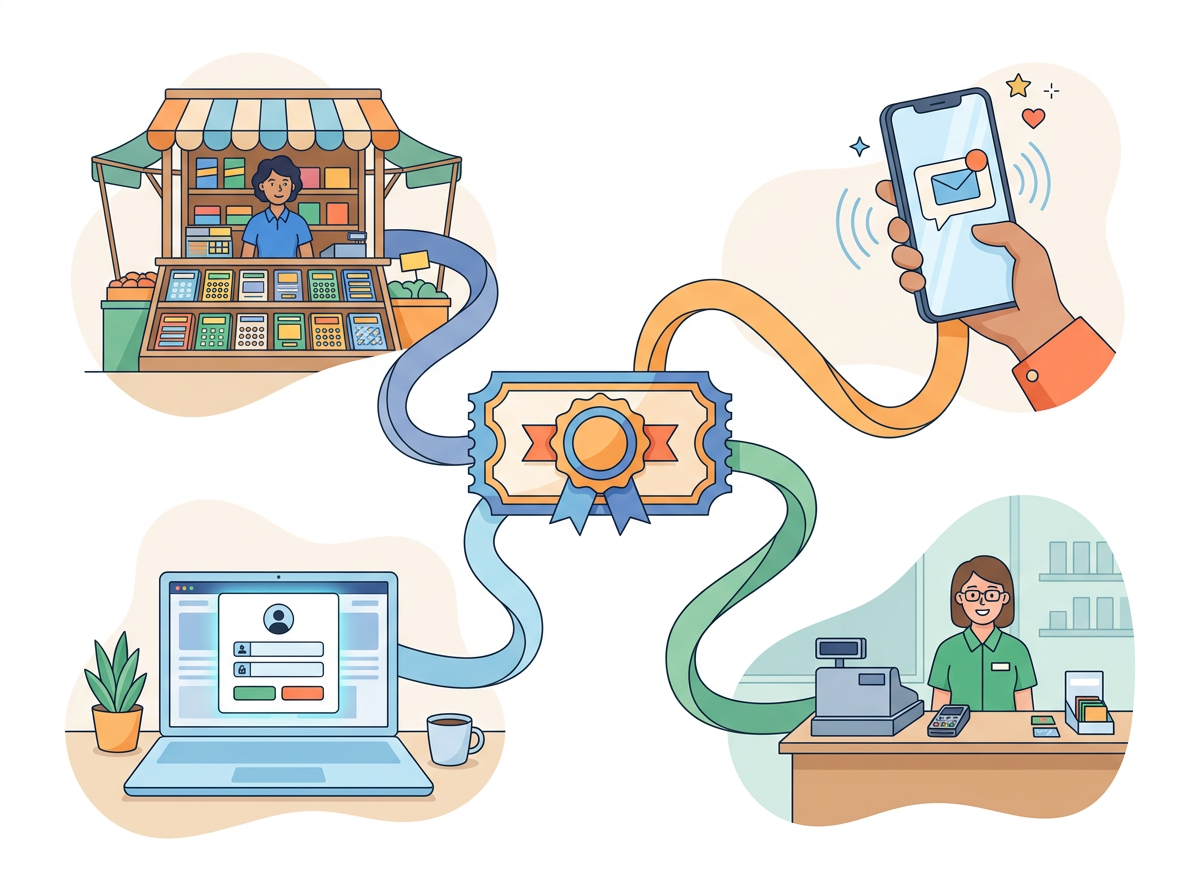
This is the business half of the system. Common channels are:
- Printed scratch cards sold by shops or agents.
- Vouchers sent by SMS or WhatsApp after a mobile money payment.
- Self-service purchase on the captive portal.
- Staff-issued vouchers at a counter or cafe.
Printed vouchers are simple but you carry stock risk and must track what each agent owes you. Digital vouchers remove that risk but require integration with a payment gateway, which MikroTik does not provide on its own.
Step 7: Protect revenue
A few controls prevent the common leaks:
- Limit shared users to 1 on paid profiles.
- Use MAC cookie or MAC binding carefully: it helps customers reconnect, but can let a device keep access you did not intend.
- Block or rate-limit the router's own services from the hotspot network.
- Run a walled garden only for the sites needed before login, such as your payment page.
- Review active sessions regularly for unusual patterns.
For wider thinking on this, see network access control for PPPoE and hotspot ISPs.
Where the native approach runs out
A single router with a few hundred vouchers a week works fine. Problems appear as you grow:
- Vouchers live on one router, so a second site means a second user database.
- There is no built-in payment matching; you reconcile mobile money messages by hand.
- Agent sales are tracked in a notebook or spreadsheet.
- Reporting on revenue per plan, per site or per agent is manual.
- Voucher scripts and templates are fragile and depend on whoever wrote them.
This is the stage where a RADIUS-backed billing system helps. The router keeps doing what it does best, enforcing the hotspot, while the billing platform owns packages, vouchers, payments and records. For the technical background, see how a MikroTik RADIUS server handles subscriber access and MikroTik RADIUS billing setup for PPPoE and hotspot.
Using Centipid Billing for the voucher layer
Centipid Billing is built for this step. It supports hotspot access by time, data or speed, and includes voucher management and agent sales on every plan. You provision your MikroTik routers from the platform, define packages once, generate vouchers in batches, and let agents sell them while their sales are recorded. Payments from mobile money and other gateways can be matched to the right customer or voucher, and a confirmed payment grants access.
The pricing for hotspot is 3% of the hotspot revenue Centipid confirms in a month, so a month with no sales costs nothing. Routers, staff accounts and vouchers are not metered. There is a 14-day free trial with no card required, which is enough to test a real voucher batch on a real router.
The documentation covers the details: vouchers, voucher agents and router provisioning. If you are weighing it against a script-based tool, there is an honest comparison in Mikhmon vs Centipid. For creation, sales and redemption in more depth, read internet vouchers for ISPs.
A practical rollout checklist
- Update RouterOS and secure the router.
- Run the hotspot setup on the customer interface.
- Create profiles that match your price list.
- Generate a small test batch and try each plan from a phone.
- Customise the login page with pricing and support details.
- Choose your sales channel and test it end to end.
- Check that limits expire correctly and shared use is blocked.
- Move to centralised billing when you add sites, agents or online payments.
FAQ
Can I create a MikroTik hotspot voucher system for free?
Yes. Hotspot, user profiles and User Manager are part of RouterOS, so you can build a basic system without extra software. The cost is your time, plus the manual work of sales tracking and reconciliation.
What is the difference between hotspot users and User Manager?
Hotspot users are stored directly on the router and are quick to set up. User Manager adds a structured layer with customers, profiles, limits and bulk voucher generation, and works through RADIUS.
How do I make a voucher valid for one hour or 1 GB?
Set a limit uptime on the user for time-based vouchers, or a limit bytes total for data-based ones. Combine that with a profile that sets speed and shared users.
How do I stop one voucher being used on many devices?
Set shared users to 1 in the user profile. Then only one device can use the voucher at a time.
Can customers pay online and receive a voucher automatically?
Not with MikroTik alone. You need a payment gateway and a system that issues the voucher after payment is confirmed. A billing platform such as Centipid Billing provides that link.
Do I need RADIUS to sell WiFi vouchers?
No, not for a single router. RADIUS becomes useful when you have several routers or sites and want one central place for vouchers, plans and records.
How many routers can I use with Centipid Billing?
Centipid does not meter routers, staff accounts or vouchers, so there is no per-device or per-site charge.